Business is always evolving, and the growth of eCommerce is no exception. Smart business owners know how important it is to go online.
Having a website is like placing a billboard on every street in the world. It can expose you to millions of potential customers you could never reach before. A website can boost your brand dramatically. More sales, recognition, and authority are within reach.
But that’s not the only reason to build a website. Today, customers expect businesses to have one. Facebook Business Pages are popular, but they shouldn’t be your only online presence. It’s more professional to have a site of your own.
Professionalism builds trust. Online shoppers worry about scams, and your website will increase their confidence. After all, it takes time, energy, and money to make a website. Customers will see that you’ve invested in your business. By extension, you’re invested in your customers, as well.
Launching a website might seem difficult. However, all you need is some foreknowledge and a plan.
Follow these steps and you’ll be online in no time.
Step 1: Planning
Proper planning leads to success. This was true for starting your business, and it’s the same for building a website. Start your plan by answering a few questions.
- What features will your website need? For example, do you want to sell products online? Most customers expect this from a brick-and-mortar retailer’s website.
- Who will be in charge of your website? A dedicated employee? Will you do it yourself? This affects the amount of time you’ll have to build and maintain the site.
- What is your skill level with web development? Do you need a platform that’s beginner-friendly? Some software is easier to use than others.
- What is your budget for starting up the site? There are always launch costs. We’ll cover these in the next steps.
- What is your budget for monthly fees? Even if you choose “free” software, there will be expenses. We will cover these as well.
- How quickly do you want to launch your website? Some methods (and software) take longer than others.
Your answers to these questions will help you choose the best software to build your site.
Choosing Your Platform
Website development used to involve a lot of code writing. But today, it’s much more accessible. You no longer need to know HTML and CSS to build a site. (It will help if you have a basic understanding of HTML, but “basic” is usually good enough.)
Today, most websites are made with a CMS (Content Management System). This is a software platform that lets you build the site without touching the code. Code is handled on the back end by the software. You create pages for your site, and add content to them, through an interface.
There are many CMS platforms available. Some are made for eCommerce first, while others are more general website builders. Many of the more general ones have apps or plugins available to add eCommerce features.
The differences between platforms include:
- Cost: These are both initial and recurring costs to your business.
- Ease of use: How easy it is to learn and use the software.
- Extra steps: Some platforms need more setup than others. For example, some include web hosting and a domain name. Others will require you to buy these separately. You will also need to think about what suffix you want. For example, you may want a .com domain or perhaps a .au domain if you are based in Australia
- eCommerce focus: Whether a platform is made for eCommerce right out of the box.
- Features: The capabilities and tools that are included. This will affect what you can do with your site. As your business grows, you might start needing more tools. If your platform doesn’t have them, you may need to pay extra for addons or even move to a new platform altogether.
- Scalability: This affects how well your site can support your business’s growth. It relates to features, as you’ll need better tools to handle more customers and inventory. It also includes infrastructure, as websites with more traffic are more demanding. Some software struggles with larger sites, so this can cause problems too.
- Support: How easily can you get help with the software? You’ll need tech support if something goes wrong. This also includes available resources for when you just want to learn on your own.
It’s important to understand these factors when you pick your eCommerce software. We’ll go over them as we compare some popular platforms.
Popular eCommerce Website Platforms
Since eCommerce is so popular, you have lots of options for choosing your software. Before we get into platform comparisons, here are a few terms you need to know. They relate to the “extra steps” that we mentioned above.
- SaaS (Software as a Service): The platform includes web hosting. With SaaS, you don’t need to look for a host or perform any software updates on your own. You simply log in through a web browser to manage your store. SaaS platforms charge a recurring fee to use the software. SaaS platforms take the least time and knowledge to set up.
- Self-hosted software: The opposite of SaaS. You need to get hosting and install the software yourself. Some web hosts do offer installation, but you’ll still be responsible for updates.
- Licensed software: A type of self-hosted software you buy for your business with a one-time fee. Licenses usually have a time limit, and you’ll need to pay for updates after it ends.
- Open-source software: Free self-hosted software available for any developer to edit. Many business owners gravitate to the “free” price tag, but you’ll still need to pay for web hosting.
Each of these terms describes the basic type of eCommerce software. Each represents a different level of investment in time and money. Understanding them will help you choose a platform that works with your resources.
Here are some of the most popular eCommerce platforms.
Shopify
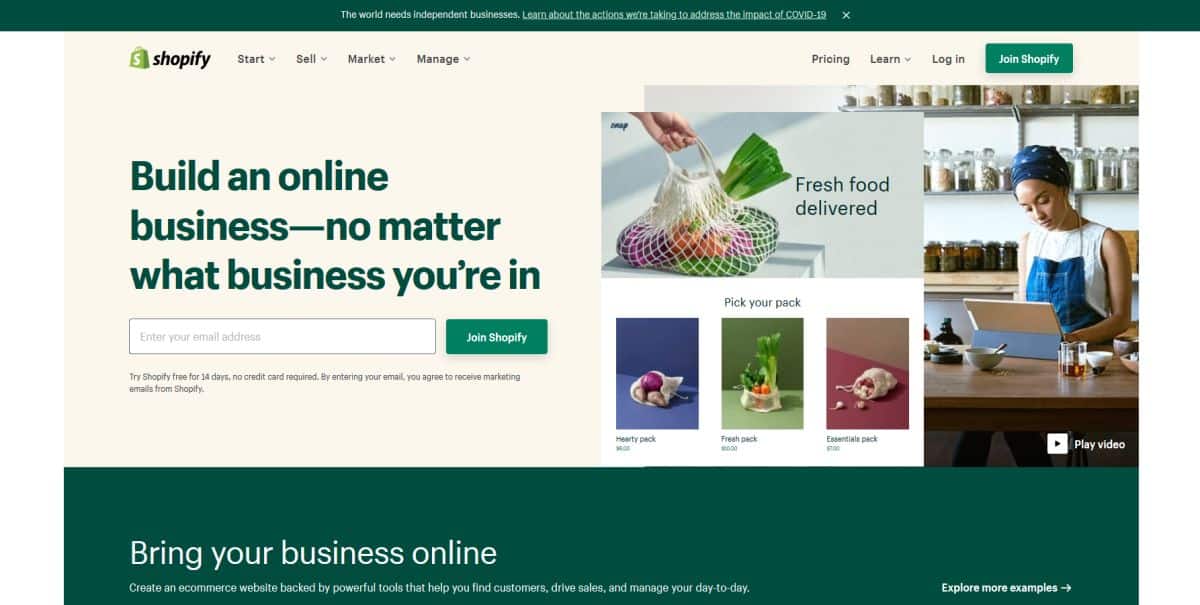
Shopify, founded in 2006, is the most well-known SaaS eCommerce platform. It’s considered the most easy-to-use and well-rounded platform.
- Type: SaaS.
- Cost: Suitable plans for brick-and-mortar stores start at $29/month. Shopify charges transaction fees on your online sales unless you use Shopify Payments. You can also expect to spend extra on apps to add functionality to your store. These extra expenses can seriously eat into your profits.
- Ease of use: Easy. Shopify is one of the simplest eCommerce platforms to learn. Although you’ll still have to spend some time getting used to it.
- Extra steps: Like other SaaS platforms, Shopify includes hosting and security. You don’t have to seek them out on your own.
- eCommerce focus: Shopify was built for eCommerce from day one. You can still add other types of pages to your site, as well as a blog.
- Features: Features are one of Shopify’s weaknesses. It relies on its app store to bolster functionality that’s missing from the core software. Third-party apps usually come with a price tag and their quality can vary.
- Scalability: Good. Shopify has three suitable plans plus an enterprise solution. They don’t require upgrades based on sales. If you’re subject to transaction fees, though, you’ll want to upgrade sooner. The cost of the fees can grow bigger than the cost of upgrading. Shopify also doesn’t add many features to its higher plans, so you’ll still be paying for the same apps.
- Support: 24/7 support through multiple channels. Shopify is renowned for its detailed support and includes tons of resources. Since it’s such a popular platform, there’s a lot of information available. Some third-party apps have their own support channels, which can be less reliable.
Shift4Shop
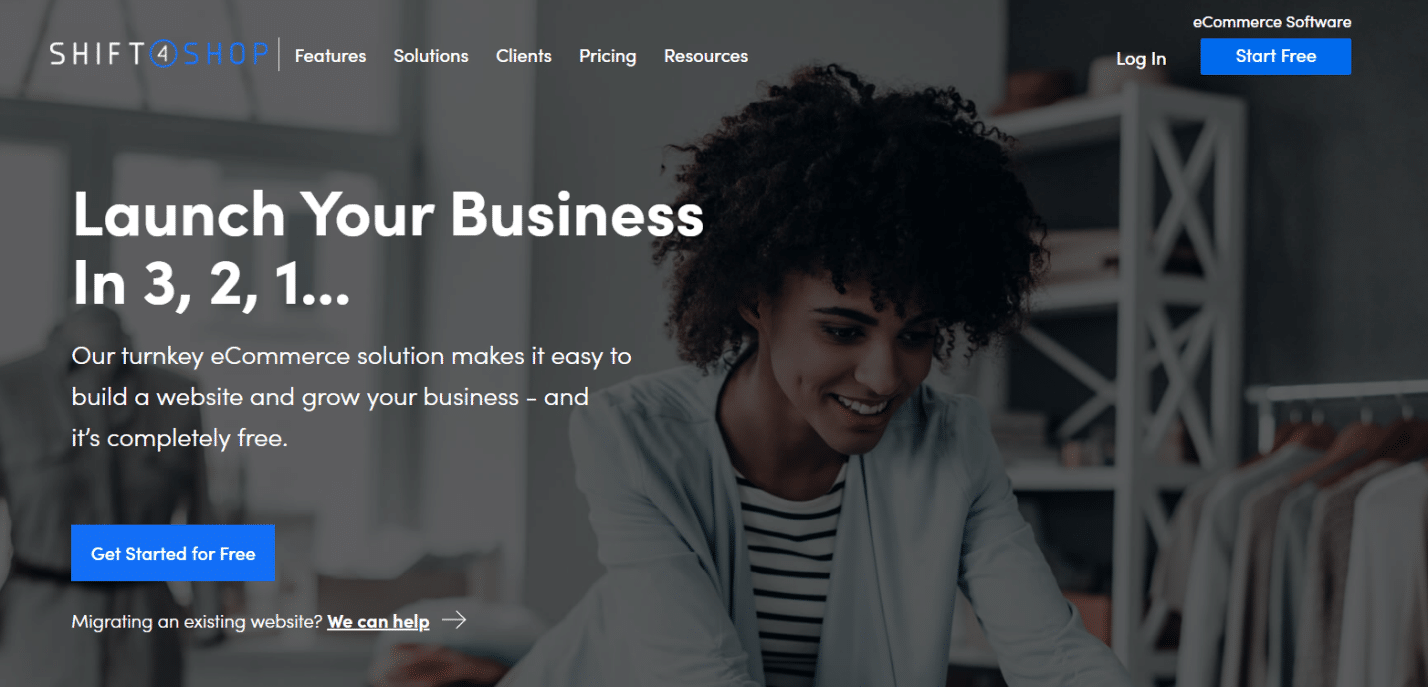
Shift4Shop is one of the most established eCommerce platforms, going back to 1997. It’s evolved quite a bit since those early days, and frequently adds features to stay current. Today, it’s one of the most well-rounded and affordable platforms available.
- Type: SaaS.
- Cost: Free unlimited plan with preferred payment method.
- Ease of use: Small learning curve. The number of features can make it a little difficult to master, but it’s easy to learn.
- Extra steps: Since Shift4Shop is SaaS, it includes hosting and security. The platform also goes the extra mile by registering your domain name for you, if needed. This makes Shift4Shop overall the fastest platform to get set up.
- eCommerce focus: Built with eCommerce in mind. You can also create a blog and regular website pages.
- Features: More built-in features than almost any other SaaS platform. Shift4Shop also integrates with popular business software numbering in the hundreds. It also includes built-in payment processing.
- Scalability: Unlimited. Shift4Shop offers features for businesses of all sizes, from small to enterprise. It’s easy to go from a dropshipping startup to an enterprise company within their platform. They also provide access to features like unlimited bandwidth and bulk importing to support larger stores.
Support: 24/7/365 US-based support through live chat, phone, and tickets. There are also tons of resources and tutorials available.
BigCommerce
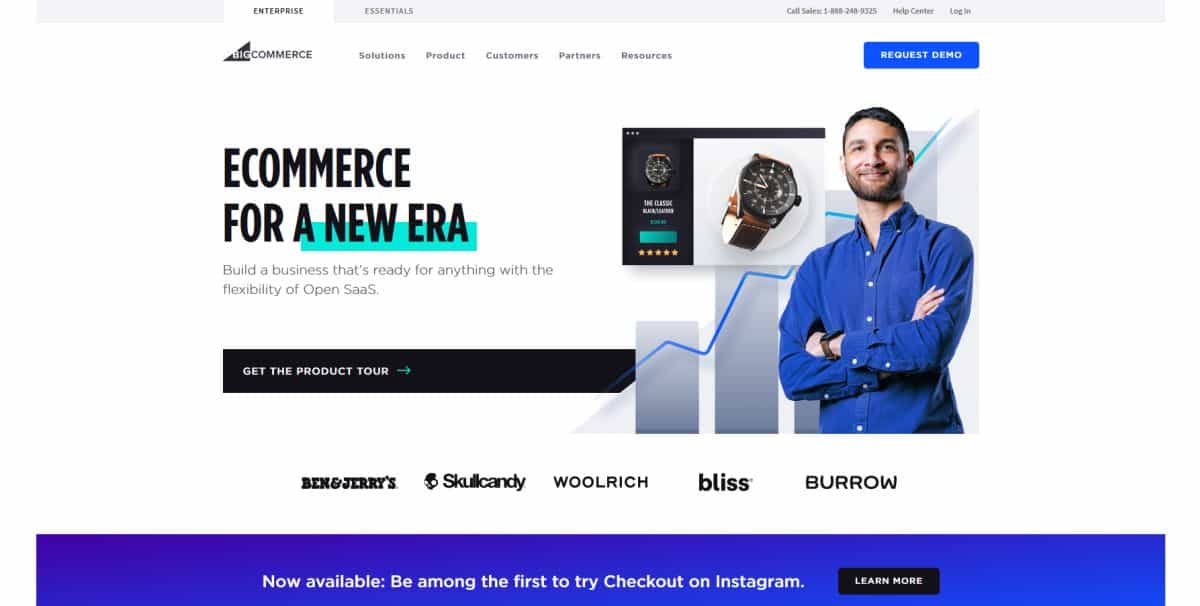
BigCommerce is the only other SaaS platform to come close to Shift4Shop in number of features. Founded in 2009, it has become a strong competitor in eCommerce.
- Type: SaaS.
- Cost: Plans start at $29.95/month. There is a yearly plan discount, but only for higher-tier plans.
- Ease of use: Small learning curve. Like Shift4Shop, BigCommerce has a lot of features to grow familiar with.
- Extra steps: No extra steps, since it includes hosting and security.
- eCommerce focus: BigCommerce was made for eCommerce, but you can add pages and a blog to your site as well.
- Features: BigCommerce has tons of features. But it has far fewer payment providers and other integrations than Shift4Shop.
- Scalability: Good. BigCommerce has three plans plus an enterprise plan, so it can grow with your business. However, the pricing jump between these plans can be steep. BigCommerce also requires an upgrade to higher-tier plans much earlier than Shift4Shop.
- Support: 24/7 support availability through several channels. BigCommerce also has many resources for self-directed learners.
WordPress/WooCommerce
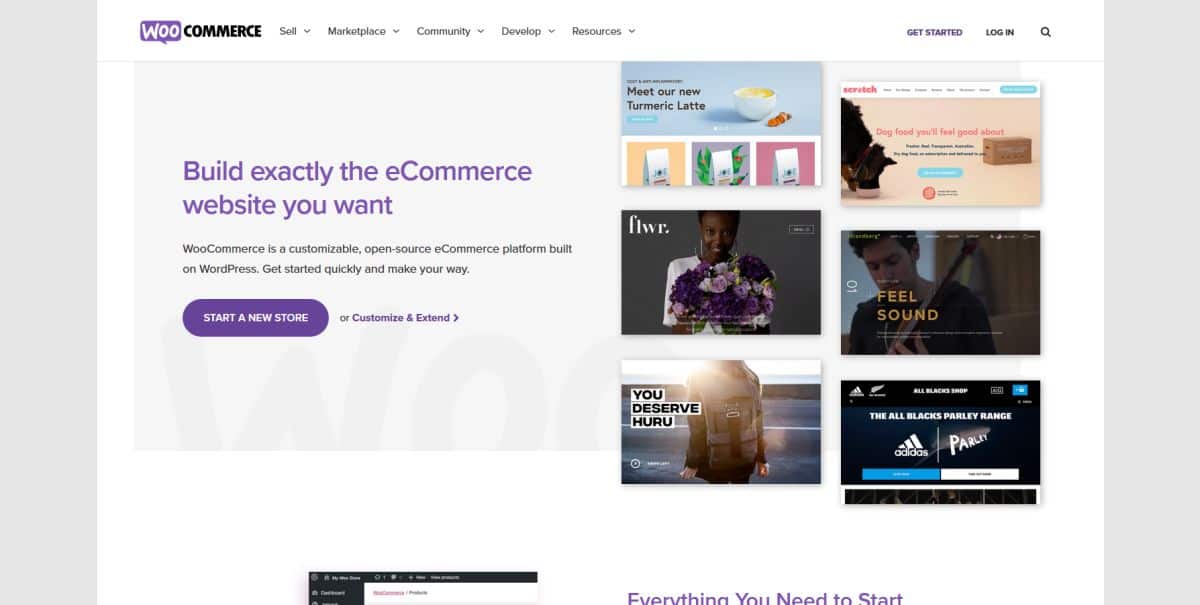
WordPress is one of the most popular website solutions ever created. Originally a blogging platform, WordPress can be used for almost all types of sites. The most popular eCommerce plugin for WordPress is WooCommerce.
- Type: Self-hosted open source.
- Cost: The software itself is free, but you’ll need to pay for hosting that usually starts around $9/month. Security can cost anywhere from $5/month and up. You are also more likely to need additional apps that will have their own costs.
- Ease of use: Medium learning curve. WordPress and WooCommerce are fairly easy to learn on their own. But you also need to know the ins and outs of the WordPress ecosystem.
- Extra steps: You’ll have to deal with hosting, security, software installations, and upgrades. Finding the right apps to expand your store can also be time-consuming.
- eCommerce focus: WordPress is a CMS (Content Management System) for building websites and blogs. WooCommerce was created to add dedicated eCommerce functionality.
- Features: The open-source nature of WordPress and WooCommerce means almost unlimited expansion. Besides the built-in features, hundreds of apps add further potential. Just keep in mind that finding the right apps can be a challenge. They can also get pricey, as can custom development if you go that route.
- Scalability: Fair. Small and mid-sized businesses can do fine with WooCommerce. Larger businesses might want to look into a different solution.
- Support: There’s a ton of support available for WordPress and WooCommerce. You can get support from the WooCommerce staff and the massive community. Individual apps may require their own support, however.
Other eCommerce Software
We’ve gone over some of the most popular eCommerce platforms, but there are many more out there. We simply can’t compare them all in a single article. At least understanding the comparisons here will help you evaluate other software. Now you know what to look for!
Once you’ve chosen your eCommerce software, you’re ready to continue creating your website. The exact process will vary a bit depending on which platform you’re using. But the next steps are the same no matter what.
Step 2: Choose a Domain Name
A domain name is your website’s address or URL. It might seem like a simple thing, but your domain name is crucial. A great domain name is readable, brandable, and memorable. A bad one is unprofessional, forgettable, or easily confused with another site.
Some website providers give you a free subdomain, like yourbusiness.myshopify.com. However, it’s better to buy your own domain name instead. Having your own domain name adds to your website’s professionalism and increases trust. Customers are wary of online scam websites that rely on free subdomains. With your own domain name, you can establish that your site is “real.”
Let’s take a closer look at the traits of a great domain name.
- Readable: The best domain names can be read and understood by a person. They should be easy to say out loud. This helps you (and your customers) spread the word about your website.
- Brandable: Domain names should be easy to associate with your business. If you can work them into your branding, all the better. This is why they should be the same as your business name, if possible. It’s also another reason why using a free subdomain is a bad idea. You don’t want to advertise your eCommerce platform in the middle of your domain name.
- Memorable: Customers should always be able to remember your domain name. It helps for them to be short, as long as you don’t lose readability. It should also be difficult to confuse your domain with that of another website. Both readability and brand-ability help your domain become more memorable.
Of course, with millions of websites already online, choosing a domain name can be hard. You might not be able to get your exact business name, as it could already be taken. Just keep the traits of a good domain name in mind and you’ll figure out something that works.
If your business is already on social media, see if your handle is available for a domain name. If you have the same username on every platform, and the same domain, customers will find your site easily.
Ready to register your domain name? Check if your eCommerce platform prefers a certain registrar. If you’re using Shift4Shop, they’ll handle the registration for you at no charge.
Step 3: Choose a Design
Now it’s time to start building your website. It’s exciting, but it can also be overwhelming. Fortunately, eCommerce providers have made it much easier.
When using an eCommerce platform for your website, you’ll have access to pre-made templates. You can install one on your site to immediately apply a complete design. Website design will affect your conversion rate.
Premium themes often have more features for your website. These can include “sticky” menus, navigation that stays on screen when the customer scrolls. They can also include built-in Google map functionality to show your location. Social media feeds are popular too. Theme features can be almost anything.
Free themes can also be fine for your store. Depending on your platform, it’s possible to find a free theme with a premium look.
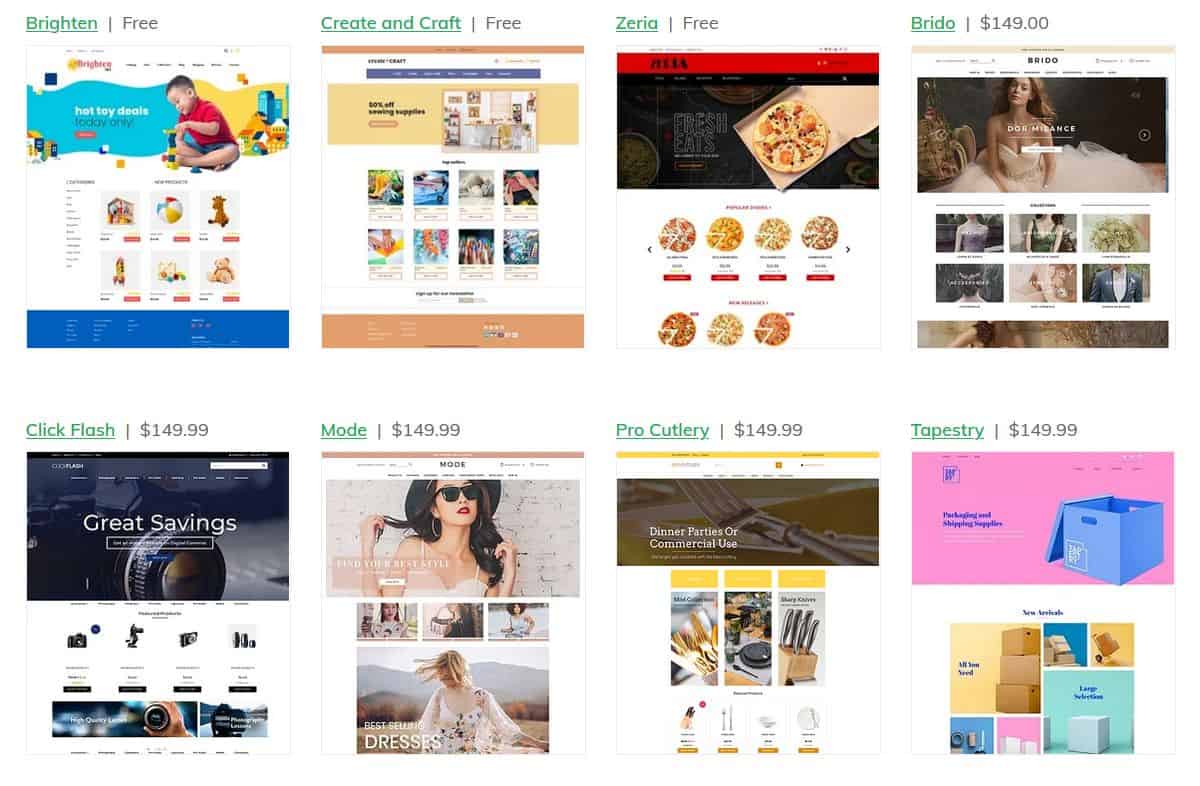
Example from Shift4Shop’s theme store. Both free and premium are included.
Browse your platform’s theme store and find one with the layout and features you want. It’s all right if the colors don’t match your brand right out of the box. You can customize theme colors on almost every platform. All the software we’ve listed in this guide allows theme customization. You’ll also be able to add your store logo.
When evaluating themes, look for the following:
- Price: Is the theme free or premium? How does it work with your budget for your site?
- Support: Who provides support for the theme? Does support come from the eCommerce platform itself, or a third party? Is support limited to a time period, such as one year after purchase?
- Updates: Is the theme currently up to date with the latest version of the software? Can you get updates for life?
- Compatibility: Does the theme work with any apps, plugins, or other addons you want to use on your site?
- Features: What built-in features does the theme have?
If you’d rather put off heavier design decisions, you can start with a free theme and upgrade later. You may also prefer to wait a bit to choose the theme. After you’ve set up more of your site, you can see how the theme affects more pages. You could wait until after you’ve added your products, or until the rest of the site is complete.
Step 4: Add Your Products
The procedure for adding products will vary based on your eCommerce platform. However, all eCommerce software is made for selling products. Since this is the main purpose of the software, it’s usually straightforward to add them.
All eCommerce software lets you add products one by one through an interface. Many also allow you to upload them in bulk with a CSV spreadsheet. You’ll be able to find the exact instructions for CSV uploads on your platform’s website.
When adding products, make sure you include:
- Price: The price of the product. Also include “retail price” if available. This is the usual price of the product and will display next to your price. It shows customers that you’re selling the product for less than your competitors.
- Cost: The cost of the product to your business.
- Inventory: How much of the product you want to make available for online sales. You can share your inventory between online and offline sales as well. If you do this, you’ll want to keep them synchronized. Many platforms have methods to do this. It often depends on the Point of Sale (POS) system you use in your brick-and-mortar store. Shift4Shop has inventory and customer sync through its POS module and Square Register. Other methods are also available per platform. Consider specific inventory management software if the built-in tools don’t seem like enough for you.
- Product information: The details about the product. This includes specifications and a short description.
- Category: The category and subcategory of the product. Category creation is somewhat dependent on your eCommerce software. Most allow enough categories and subcategories for any item. Categories help customers find what they’re looking for.
- Image: You need at least one high-quality photo for each product.
- Other details: Some platforms allow more information, like SKUs, manufacturer, and part number.
Remember that the better your product pages are, the more likely a customer is to buy. It’s worth putting in the time to add useful information and images for each product.
Step 5: Add Information to Your Site
Your website is more than just an online store. It’s also your presence on the internet. Customers will want information from your site whether or not they plan to buy online.
Some information is necessary for your site to function. Some is required by law in some areas. Other information can be optional but increases customer trust in your business.
Your eCommerce platform will have built-in tools to add the information you need. This includes both simple settings and detailed pages.
- Business address: Your location. Depending on your business, you might need to add multiple addresses. These can be other locations, your shipping address (if different), and more.
- About Us page: Customers want to know about your business. Online shoppers often look for the About Us page to help them decide whether to trust a website. A well-written About Us page can help convert customers on your site. It can also draw them to your brick-and-mortar location.
- Policy pages: You need pages for your privacy, shipping, and return policies. If they’re short, you can put them together on one page. If they seem long, use your judgment to decide if they’d be better on separate pages. Policies will help streamline customer service. Sometimes they’re also a legal requirement. There are plenty of resources online if you need help learning how to set up your return process.
- Other information: If you want to create other pages to add more information to your site, do so now. The more you have available at launch, the better. These could be guides for your customers, manufacturer information, and more. However, don’t add things just for the sake of having more content. If it’s not necessary, don’t clutter your website.
Step 6: Set Up Payment and Shipping Methods
Online payments and shipping are a central part of eCommerce. Even if you only want customers to pick up their purchases in-store, you still need to set it up.
Choose payment providers based on your needs. You can probably get online credit card processing through your current provider. You may already know customers prefer certain alternate payments you accept in-store. Contactless payments like Apple Pay are very popular. You can add these to your website, too, so customers can pay the way they always have.
You’ll also need to add sales tax information. Most eCommerce platforms come with tax tools that let you define tax charges based on region. Make sure you’re up to date on how sales tax has changed for eCommerce retailers.
For shipping, add your shipping address if different from your business address. Choose how you want to ship out your orders. Many eCommerce platforms display real-time rates for your customers. The rates depend on the carrier you use.
If you want to provide delivery but keep your sales local, limit your shipping within your area. The tools for this are different depending on your platform. You can often enter an acceptable ZIP code range for delivery.
If you only want to allow in-store or curbside pickup, there are tools for this as well. Some eCommerce platforms have a dedicated module for in-store pickup. Others use different settings for this feature. Some software has both. For example, Shift4Shop includes an in-store pickup module on higher plans. It also lets you set it up in alternate ways within the base software.
Step 7: Go Live
Once everything is set up, it’s time to launch your website. Sometimes, it’s as easy as pressing a button. Other times it’s a little more complicated. Either way, before you go live, take some time to test your site.
Website testing involves going through each page and looking for problems. These can include broken links, typos, and other typical issues. If you’ve built the site yourself, get someone else to test it if possible. The more “fresh eyes” you can have on it, the better.
Some eCommerce providers will help test your site before you go live. They can even place test orders to ensure everything is working. Ask about this service when you sign up, and again when you’re preparing to launch.
When you’re sure everything is ready, launch your website. The exact process varies by platform but usually involves connecting your domain name. After purchasing a domain, it goes to a placeholder site that belongs to the registrar. When you’re ready to connect it to a site, you do this by editing some settings.
Sometimes you can contact your provider and tell them you’re ready to go live. Shift4Shop works like this, if you had them register your domain for you. You would call them and tell them to connect it, and they’d edit the relevant settings for you.
If you need to do it yourself, you’ll need some information from your web host. What you’re looking for are called nameservers. You can usually find these in the FAQ or on other knowledge base pages of a host. Since they’re needed so often, they’re almost always easy to find with a simple search.
When you have your nameservers, log into your domain registrar. Look for nameserver settings. Change the information in the fields to match the nameservers from your host.
It’s as simple as that. Just give your site a day or so to “propagate,” and then you’re officially live.
Ready to Go Online?
The benefits of building a website for your brick-and-mortar store are endless. All retailers have something to gain from increased visibility. Everyone from small businesses to wholesalers can benefit from an eCommerce website.
Sure, the process is time-consuming and can get technical. But by breaking it down into steps, it becomes much more manageable.
- Planning
- Choose a domain name
- Choose a template
- Add products
- Add information
- Set up payment and shipping
- Go live
Building a website doesn’t have to be a vast, time-consuming project. It does depend on how many products you have, as bigger stores are naturally going to take longer. The software you’ve chosen also has an effect. Any job is going to be easier to do with the right tools.
But even a business with thousands of products can get online much faster than ever before. Businesses with smaller inventories can often go online in a week. There’s no reason to put it off.
So, start making your plans. The sooner you begin, the sooner the doors of the internet will open to you!